


Who is as crazy about pressure cooking as I am? It's super easy and meals cook in a flash. And, who doesn't want easy? I found something that makes cooking with a pressure cooker even more of a cinch! Ready? It’s using the OXO Silicone Pressure Cooker Accessories. (Seriously, these tools are so cool that I'm partnering with them to spread the word). One of my favorite accessories is the OXO Silicone Pressure Cooker Sling - a handy basket-like device that makes it easy to lift jars, ramekins, and other bakeware right out of the pressure cooker. I used it to make these delicious gluten-free and dairy-free Coconut Milk Crème Brûlée’s. Say bye-bye to using tongs to get ramekins out of the pressure cooker. Just lift the Silicone Sling - easy peasy!
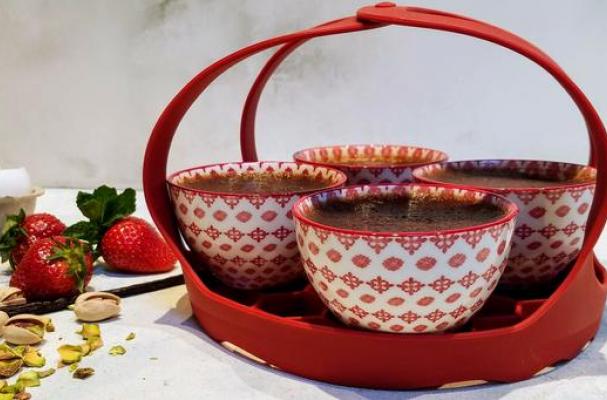
Pressure Cooker Coconut Milk Crème Brûlée
Gluten-free/Dairy-free/Paleo-friendly
Serves 4
Note: I use lower-glycemic coconut sugar in this recipe to make it Paleo-friendly, plus I love the rich brown color and caramel flavor it lends to this easy dessert.
1 whole vanilla bean or 1 teaspoon pure vanilla extract
1 can full-fat coconut milk
The yolks of 5 large eggs
3/4 cup organic coconut sugar, plus more for "brûléeing"
For garnish: fresh mint, berries, crushed nuts
Slice open the vanilla bean lengthwise and scrape out the inside with the edge of a knife.
Pour the coconut milk into a small saucepan and add the vanilla bean. Bring to a simmer, whisking often, then remove from heat and allow to cool for 5 minutes.
Meanwhile, whisk the egg yolks and coconut sugar together. To prevent the eggs from scrambling, slowly whisk in the coconut milk.
Add 1 1/2 cups of water to the pot of a pressure cooker then place the OXO Silicone Pressure Cooker Sling inside.
Pour the crème brûlée mixture into four ramekins or cups (about 4 to 6-ounces in size), cover each with foil, then place on the Silicone Sling.
Lock the lid of the pressure cooker in place, select High Pressure, and set the timer for 6 minutes. After 6 minutes, turn off the pressure cooker. Use a natural pressure release for 10 minutes, then manually release any remaining pressure. Carefully remove the lid and gently lift out the Silicone Sling.
Editorial disclosure: This is a sponsored post, but we are genuinely passionate about OXO's amazing products.


 - Foodista.com&url=https://www.foodista.com/blog/2019/03/05/easy-pressure-cooker-coconut-milk-cr%C3%A8me-br%C3%BBl%C3%A9e-gluten-free-dairy-free-paleo&media=https://www.foodista.com/sites/default/files/field/image/Coconut%20Milk%20Creme%20Brulee%20%28gluten%20free%2C%20dairy%20free%2C%20paleo%29.jpg)
 - foodista.com&url=https://www.foodista.com/blog/2019/03/05/easy-pressure-cooker-coconut-milk-cr%C3%A8me-br%C3%BBl%C3%A9e-gluten-free-dairy-free-paleo&media=https://www.foodista.com/sites/default/files/field/image/Coconut%20Milk%20Creme%20Brulee%20%28gluten%20free%2C%20dairy%20free%2C%20paleo%29.jpg)