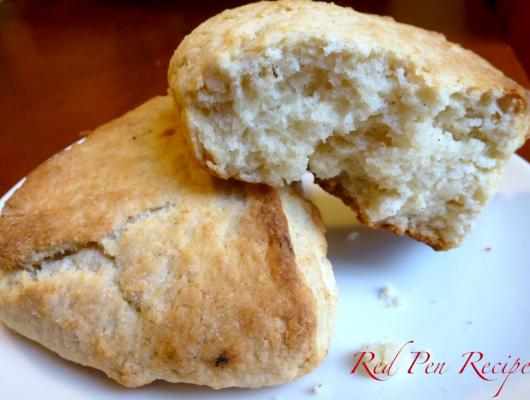
Vanilla bean scones
Ingredients
Preparation
About
I have never met a scone I liked. Every scone I’ve ever had has been dry, plain and crumbly. They were all like eating a stale biscuit. So, for the majority of my life, I’ve avoided them. Last week I decided I make them at home to see whether I would like them better. I did.
The recipe I used was the Simple Cream Scones recipe from The Cook’s Illustrated Cookbook. I figure it’s always best to start with something simple. I added a vanilla bean to the recipe and the flavor of the scones was great. They didn’t crumble all over the place when I bit into them like ones I’d purchased from coffee shops did. They were soft and a bit moist inside instead of dry through and through. They were enjoyable, instead of being overly sweet. They were perfect for breakfast.
As with most recipes, I made a mistake on the first try. I left the oven rack in the upper third of the oven and didn’t rotate the scones halfway through the cooking process as instructed. I left them in a little longer than I should have, but they were still good. In fact, the next weekend I made them and added about a half cup of chopped strawberries to the mix and I liked them even more than the vanilla bean scones.
I’m glad I decided to make them at home because now I know that not all scones are dry and crumbly. Not all scones are bad biscuits. Not all scones are worth writing off.


