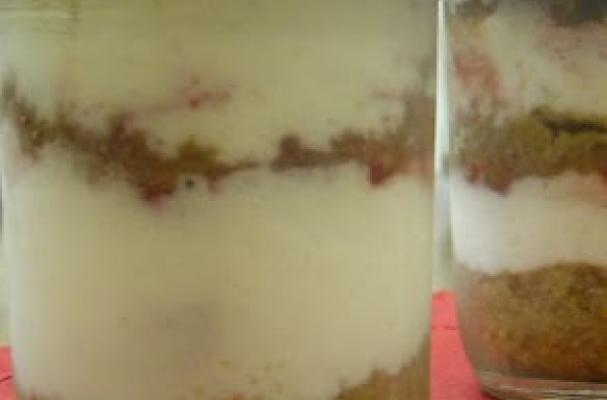
Strawberry cheesecake in a jar is a portable dessert worthy of any occasion. Mason jars are filled with buttered graham cracker crumbs, cheesecake batter, and strawberry topping. For this recipe you can use fresh strawberries or strawberry preserves, depending on what you like. Whether you are having a picnic in the park or watching an outdoor concert, strawberry cheesecake in a jar is a must-have.
Strawberry Cheesecake in a Jar
Recipe Courtesy of Traveling by Food
Ingredients:
Crust:
2 ½ cups crushed graham crackers
3 tbsp melted butter
Filling:
3 -8oz packages cream cheese (at room temp)
1 1/3 cups sugar
5 large eggs (at room temp)
16 ounces sour cream (at room temp)
1/4 cup flour
2 teaspoons vanilla extract (at room temp)
2 teaspoons lemon juice (at room temp)
Strawberry Topping:
2 jars strawberry topping (or fresh strawberries)
Directions:
1. Prepare your jars as you would for canning mason jars. Set aside being sure they do not become contaminated
2. Preheat oven to 325F
3. In a medium bowl add the melted butter to the crushed graham crackers. Mix and set aside.
4. Keeping your mixer on a low setting throughout the beating and mixing process, start by beating the cream cheese until light and fluffy.
5. Add the sugar a little at a time and continue beating until creamy.
6. Add one egg at a time and beat after each egg.
7. When eggs have been mixed into the cream cheese add flour, vanilla and lemon juice, mix well.
8. Add the sour cream last and beat well.
9. One jar at a time, begin layering the crust, cheesecake filling, and strawberry topping. I chose to do from the bottom up: crust, cheesecake, topping, crust, cheesecake, topping so you can see the layers all throughout. I did about 3-4 tablespoons of the crust, 4-5 tablespoons of cheesecake filling, and 2-3 tablespoons of strawberry topping for each jar, split into two different layers. But you can do any amount you want for each layer, just be sure to leave about an inch of space at the top of the jar since cheesecake does puff up a bit when baked. Wipe the rims of the jars with a clean paper towel when finished layering.
10. Place the jars in a large roasting pan and fill the pan with boiling water, careful not to splash any water into the jars. (I also placed the roasting pan on a large cookie sheet to make it easier to move around)
11. Place the roasting pan with the cheesecake jars in the oven and bake until they no longer jiggle in the middle, about 1 hour.
12. Once finished baking, turn the oven off and leave the oven door slightly ajar.
13. After 30 minutes take the pan with cheesecakes out of the oven and begin placing the lids on the jars. Be careful to use oven mitts as the jars are still hot and you need to get the tops screwed on nice and tight. You may hear the jars make a pop noise when they seal.
14. Let the jars cool on the counter for about 2 hours, and then place them in the fridge overnight.
15. Open a jar when you’re ready to eat and ENJOY!
Image Sources:


