Last Friday, a group of 75 passionate food lovers, photographers, chefs and food stylists came together for FoodSnap! an event put together by Keren Brown Media and Foodista.
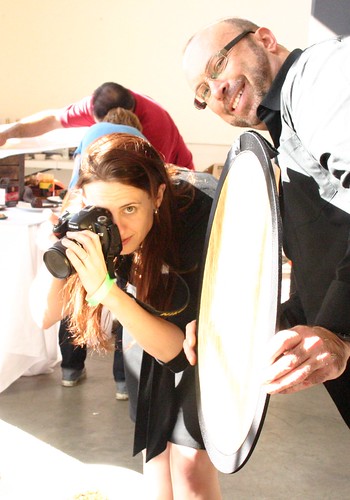
It didn't matter if you only had a point and shoot camera or zero experience behind the lens, eight other photographers and food stylists were right there holding reflectors, white cards and offering tips to help you capture the best shot. Chef Wayne Johnson from Andaluca catered lunch for the event and several other vendors provided delicious offerings, including Kathy Casey who provided the attendees with two FoodSnap! signature edible cocktail gelees; pomegranate rosemary and elderberry and cucumber. The gelees were just as beautiful as they were delicious.
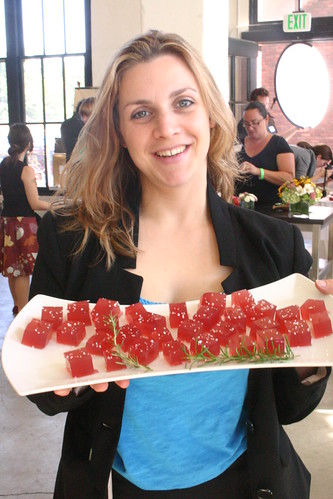
Here is Keren Brown holding a tray of Kathy Casey's Pomegranate Rosemary Gelees
Guest of honor, Lou Manna, educated, entertained and inspired us all to take better pictures in general, not just of our dishes.
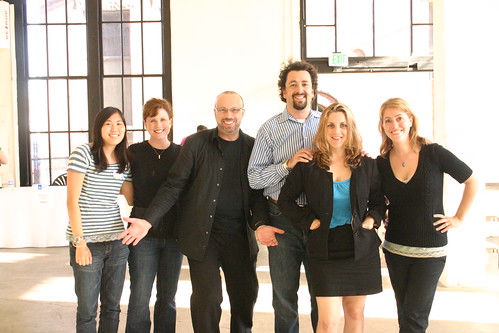
Pictured above is Karlyn, Sheri, Lou, Barnaby, Keren and Melissa
Lou started us off with his basic recipe for food photography (excerpted from Food Arts - July/Aug 2007 issue):
- Start with a full helping of the camera manual. Lou says your camera's manual is like a cookbook that will help you find the key ingredients of your camera.
- Think grey. Your camera's light meter is calibrated to measure grey, so using a grey card to meter the reflected light or an incident meter to meter the light falling on the subject will help give you the correct exposure.
- Think white. Be aware of the White Balance setting on your camera. Do your photos often have that yellow, green or blue tint? Auto White Balance doesn't always work; you can set it manually or take a Custom White Balance to brighten the color of your photo.
- Think Right. In the Western world we read from left to right, so it makes sense that our eyes also scan a photo the same way. Lou says there are some simple rules of good composition: a spiral composition that leads your eye clockwise; and the Rule of Thirds, where you divide your frame into a tic-tac-toe design and place your subject at one of those intersecting points.
- Serve with the proper resolution. Use some type of photo editing software, such as Adobe Photoshop, and as Lou puts it, "cook" your photos to enhance their "visual flavor." Set the digital oven to 300dpi with an image size of at least 5x7 in a jpeg format. "Don't forget to meta tag your photos, use keywords, write captions, and use a descriptive file name."
For more information and workshops check out and join Lou's social network DigitalFoodPhotography
If you're looking for an excellent, informative photography book, check out Lou's Digital Food Photography book available on Amazon.com:


Comments
September 23, 2009
Love the pic of the Foodista team! Sounds like FoodSnap was quite a success...
November 12, 2010
I love the pics on this post! :D I just bought a new camera and I'm on the process of learning some basic shots particularly with different light settings. I would also like to test shots on different food and restaurants that I eat. I think it is a very good idea. :)