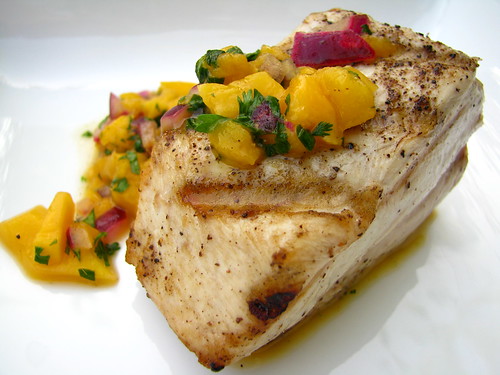
'Tis the season to take photographs of all that beautiful food you're cooking up! Cookies, pies, legs of lamb, that Christmas goose, Grandma's cranberry chutney. You don't have to be a food writer, food stylist, a blogger, or even an Annie Leibovitz to take fabulous photos. If you know some simple tricks you can take gorgeous crowd-pleasing photos.
1. Use a digital camera.
It doesn't have to be a fancy DSLR (digital single lens reflex), in fact a lot of my photography is shot with an old 6 megapixel Canon Elph, but at least 3 mp is best.
2. Don't use a flash.
I never use a flash. Unless you're a professional (in which case you won't be reading this) it's just too hard to avoid glare and a yellowish hue. I do all my photography in natural light or I'll use a work light (about $10 from Home Depot) and diffuse that light from a wall. Even then it's tricky, so try to stick with natural daylight.
3. Get up close.
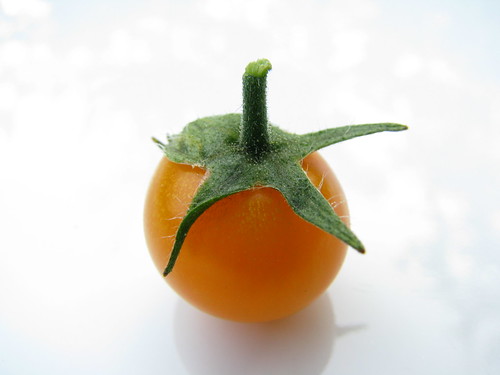
Set your camera to the macro setting (the little flower) and get right up in there. If you press the focus button halfway down most point-and-shoot cameras will show a little square. That indicates what the main focus is on. Play around. Find that "sweet spot" to focus on. Like that lovely bit of chocolate just starting to drip from the side of your ice cream. Or the little tiny "hairs" on the stem of a tiny tomato.
4. Take a lots of shots.
Just click, click, click away! That's the beauty of digital, you don't have to worry about using up all your film. All too many times, when I think I got the perfect shot on the first try, I find that when enlarged it's too grainy or blurry. Your shots always look different on your camera than when made bigger, so take a lot.
5. Style the food.
Get a paper towel or rag and wipe the edges of the plate, smudges from a glass, or any splatter, drip or drop. The littlest things you may not have notice, like a thumbprint, have an uncanny way of showing up in your photos. Also, prop up some of the ingredients to show what's in your food. If you're shooting a beautiful bouillabaisse arrange some of the fish and shellfish on top, but make sure it still looks natural.
6. Be aware of your background.
Sometimes we get so focused on the food that we end up finding things we would not necessarily call "desirable" in our shots. When I look through the lens to frame the shot I check out all the things that are in that little rectangle. A not-so-pretty crack in the table? Do you see your own shadow? Adjust.
7. Have a steady hand.
If you don't have a calm hand then rest your camera on something, like the base of a tea cup, or use a small tripod. If your lighting is not ideal (like in a dimly lit bar), rest your camera on a table and set the timer.
8. Blow that steam off!
As good as it looks to have piping hot steam coming off your food it's pretty difficult to capture since it fogs up the lens. So, I always gently blow (or have someone else) on steamy dishes as I photograph. You can also use a small fan, but this only makes the problem of eating cold food worse!
9. Take time to set up your shot.
Using colorful, antique, or just plain white dishes makes your photographs beautiful. Consider placing a napkin under or near your dish. Have an interesting utensil? Throw that in the shot. Think of how interesting shots are styled in those beautiful cookbooks. Most likely you have all you need in your cabinets to make your photography fun.
10. Look at others' food photography.
When I was little my tennis instructor always told us students, "If you want to become a better tennis player, play with someone better than you." I always check out sites that I admire to learn from them: how they place a dish on a table, how they style the food, the lighting they use, etc..Many of them say what camera(s) they use and their own tips and tricks.
11. What looks good and what doesn't.
You'll also learn what foods just don't photograph well, regardless how good it tastes. On a trip to Mexico I took countless photos of a delicious pumpkin seed mole Barnaby had made. It looked beautiful! But every single one of my pictures looked no different than something you'd find in a newborn's diaper. Lesson learned.


